Why is my Block Missing When Inserted into AutoCAD?
You are trying to insert a block into your drawing, and it is nowhere to be found. Follow these steps to resolve this issue:
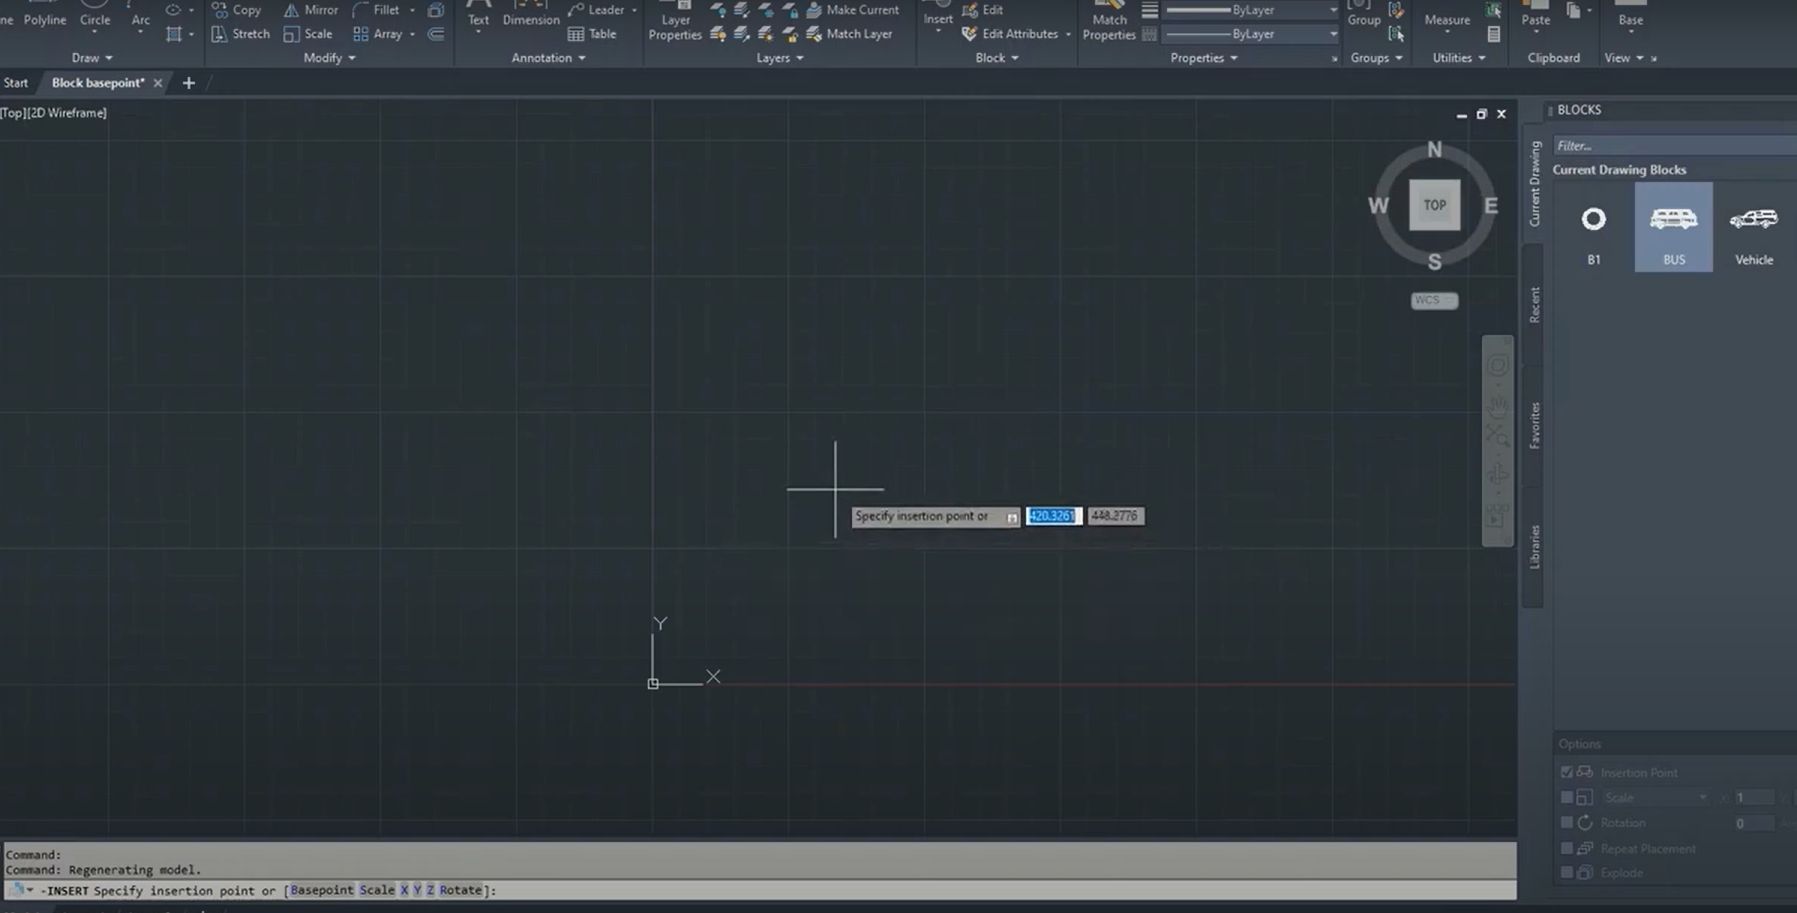
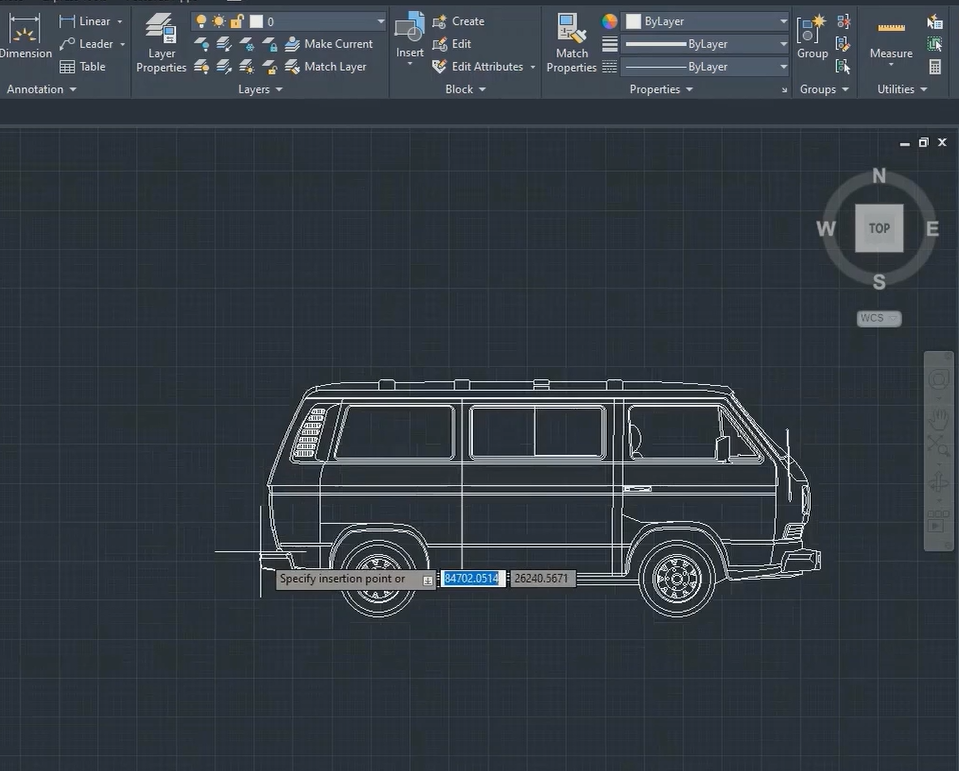
Open a new drawing and attach the block in question by typing insert at the command line. At the command line, you will be prompted to specify the insertion point. If you see the crosshairs on your screen, but no block as shown below – it’s ok, just click on the screen.

At the command line, type Z (for zoom), press enter. Type E (for Extents), press enter. You should now be able to see your block.
Now Let’s Figure Out Why it is Not Showing Up on Your Drawing
Select the block and scroll out until you can see the base point of the block. The base point is a blue grip located at coordinates 0,0,0.
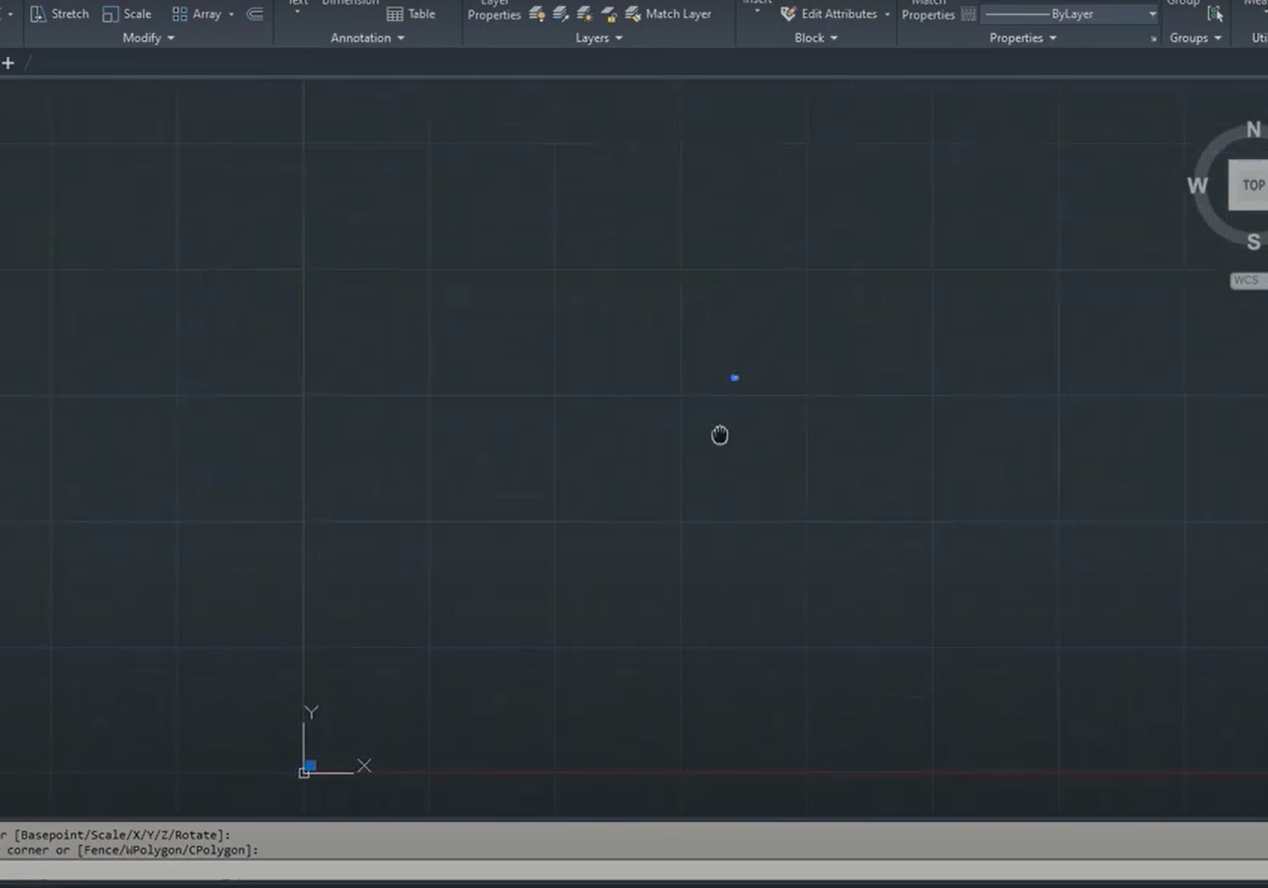
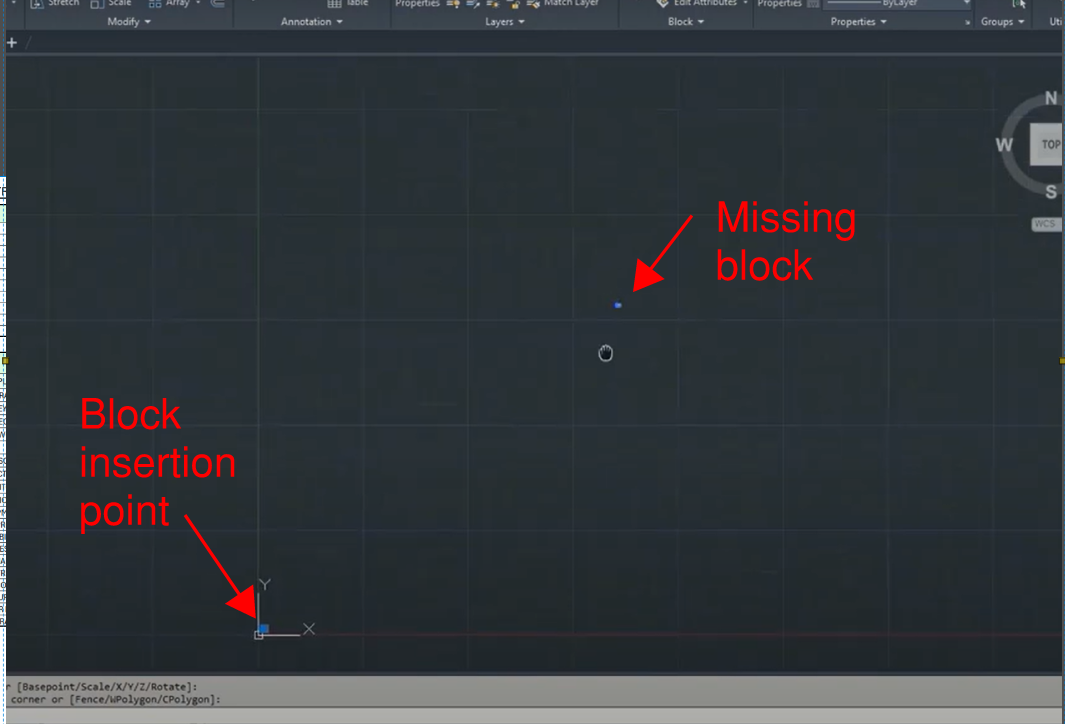
You might at this point realize the reason you do not see the block upon insertion into a drawing is because the base point is not located near the block.
Let’s Resolve This Issue
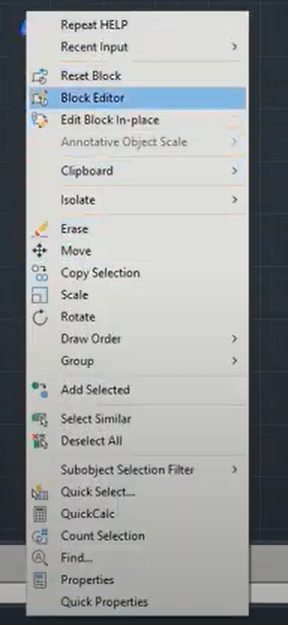
Select the block and get into Blocker Editor by right clicking and scrolling down to block editor.
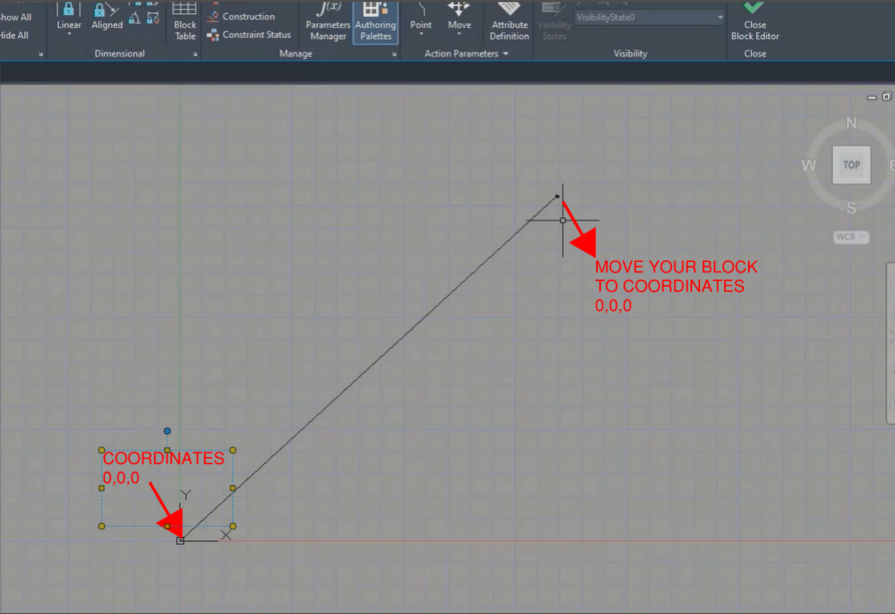
Use the Line command to draw a line with endpoint at coordinates 0,0,0.
Zoom out to see the entire extent of your drawing. Select the point on your block you want to place your base point and snap to the endpoint of the line located at coordinates 0,0,0.
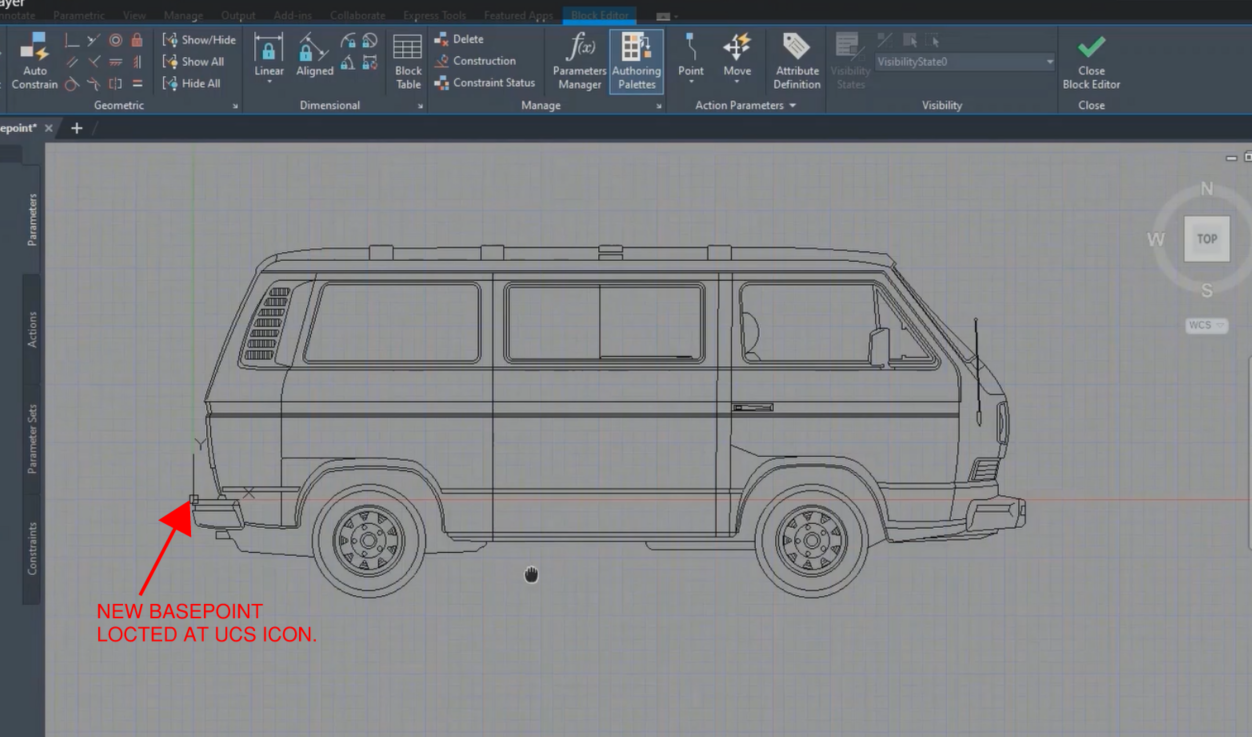
The UCS icon (x, y axis) should be located at the location of your new base point. Save changes to your block.
If you now select your block you will notice the blue grip (block basepoint) has moved.
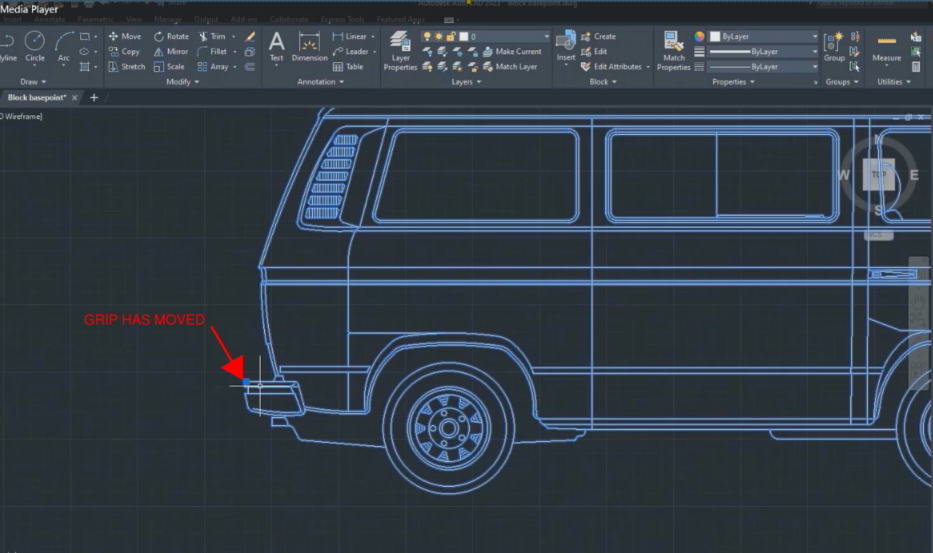
You should now be able to see the block upon insertion. The basepoint will be at your crosshair.
Quicker Methods
This method also works when placing the revised block in a new drawing. There are quicker methods of moving the block basepoint, however it may not transfer over to new drawings.